2023-01-01

Quick and Dirty Boat Building Competition 2009

 Greetings friends,

This post is a blast-to-the-past for an event I participated in during my junior and senior years of high school. The Quick and Dirty Boat Building Competition (QDBBC) was a staple of the Seattle Maritime Festival in the late 2000s/early 2010s though unfortunately it appears as though this event no longer takes place during the festival, with the last promotional materials available online from 2012.

In the last years of high school, I was a member of our school's Materials Science Club. We decided in 2009 to enter that year's QDBBC as a 3-person team. The basic idea of the competition was to build a seaworthy boat within 6 hours on a materials budget of $100 and subsequently race the boat against the other competitors. All teams were allowed an additional $100 to test-build their boat before the competition to make sure the designs were feasible.

We decided early in the process to draw inspiration from racing shells, specifically their long and narrow design targeted at higher top speed over maneuverability. With the three of us seated along the length of the boat, we'd each be able to use 2 "oars" to propel ourselves. Here is a CAD model I created at the time as a draft of the general design:

After digging through some old photos, I surprisingly found a scanned image of the receipts from when we purchased our materials. For those of you reading this in 2023, it may seem impossible to buy all these materials for under $100, but things were way different in 2009! The plywood sheet was made into the body of the boat, the PVC pipe was crafted into pontoons and oars, and the 2x4s were primarily used for structural support.

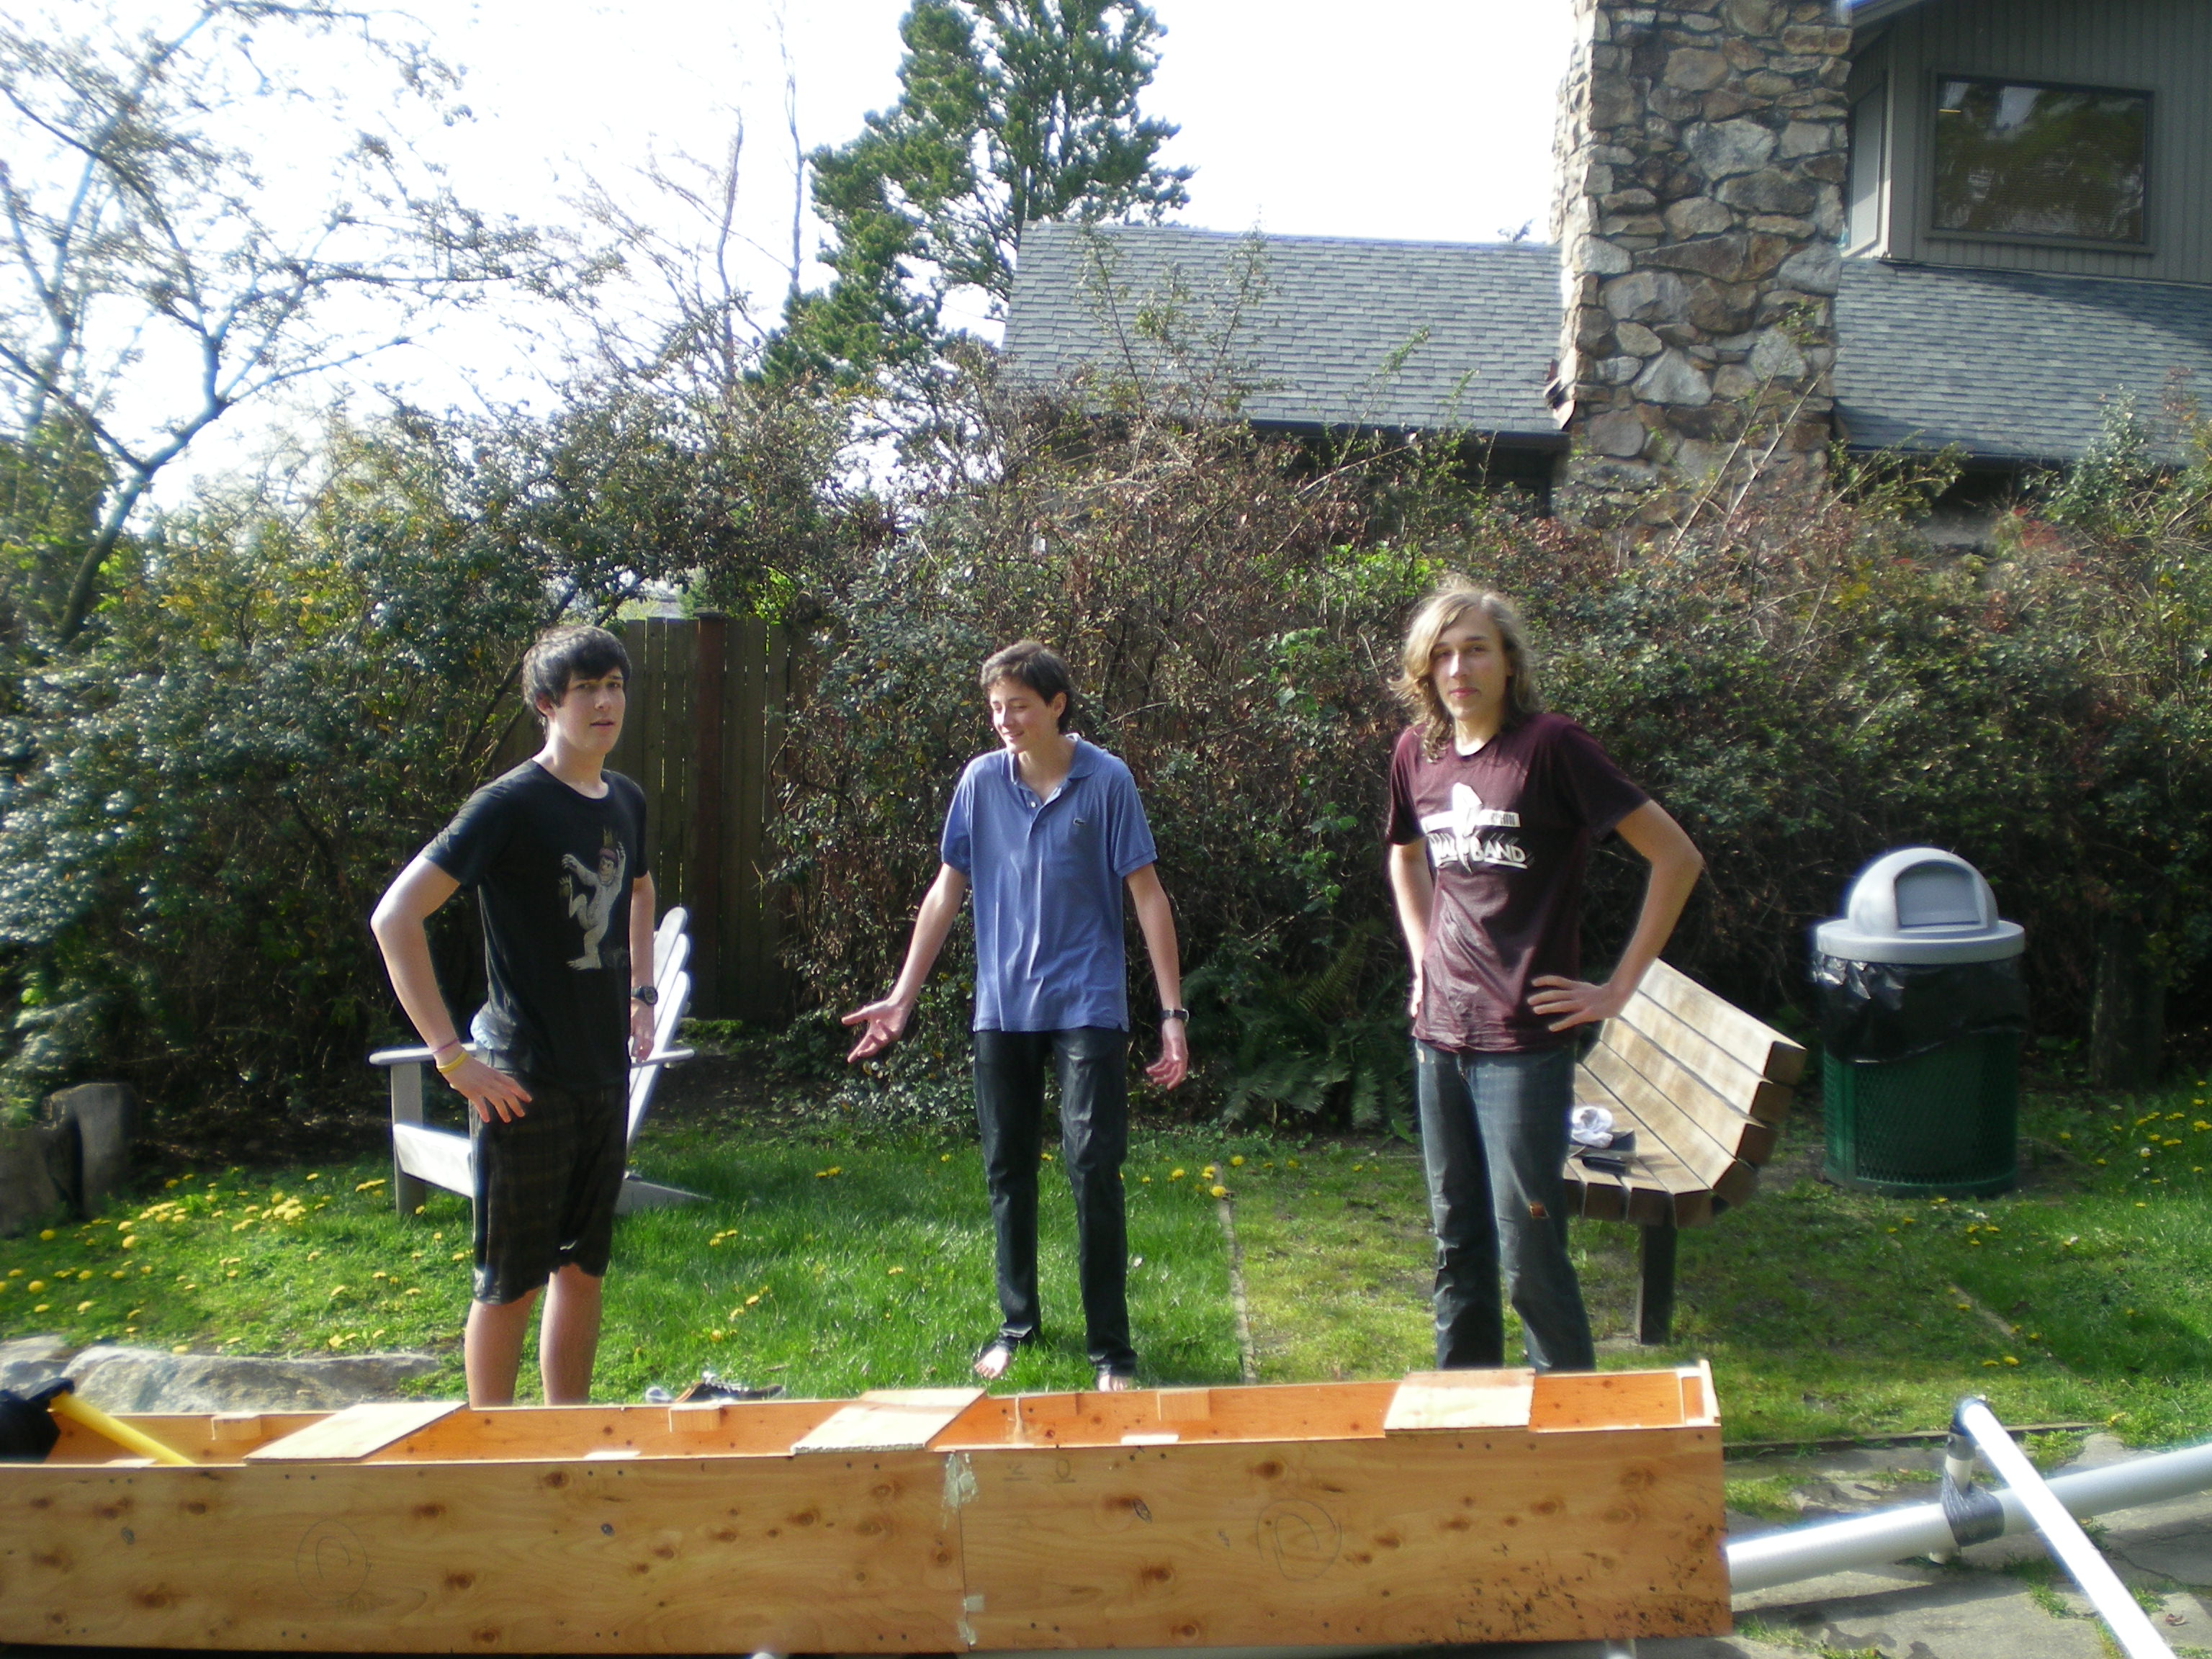
We constructed our test boat at one of our team member's houses because of the proximity to Lake Washington, where we planned to make our maiden voyage. Surprisingly, we documented the construction quite thoroughly with tons of photos and some videos from that day, from which I'll share a selection below. I'll post them chronologically, in an effort to make the assembly process easier to visualize. Click on any of the photos to see a full-size version!


The changes we made between the first CAD prototype and this test run are pretty subtle, with the biggest change being from a blunt bow to a pointed one. The cheap lumber we used necessitated a lot of expanding foam to fill the gaps, but we were still well under budget. At the end of construction, we were very eager to get into the water! Luckily it was a reasonably warm spring day, because things didn't quite go as planned (see video below)...

After a dip in the lake, we realized that our pontoons were not as structurally sound as we had hoped. As is hopefully visible in the photo above of the pontoons, the PVC pipe was screwed onto the hull from the top, meaning that only 6 drywall screws were carrying our combined weight when in the water. We learned our lesson, and later revised our design to prevent this failure from happening again.


The following week, we modified the pontoon cross-beams to pass through the hull rather than sit on top, and kept our small pieces of 2x4 as supports. We decided to grab a quick lunch before making a second attempt in the water. This time around, we were equipped with life preservers and only had two of us out on the boat. Additionally, one of our team members took an inflatable boat alongside us in case of emergency. It goes without saying that this test was far more successful than the first!


We felt confident at this point that we were ready for the competition. When the big day finally came, the construction process went incredibly smoothly, thanks in no small part to the experience gained from the trial run. The competition was held at the Bell Harbor Marina on the Seattle waterfront, and the weather was as good as we could've hoped. One of fellow Materials Science Club members designed a team flag for us, which we proudly displayed during the assembly as well as during the race!


After a busy 6 hours, we were ready to take to the water. A trailer was available to haul our boat down to the docks, and with only a bit of struggle, we managed to get her floating. The race consisted of 3 heats with 3 boats each, the winners of each heat moving on to the final heat. We won our first heat, and placed third in the final. One of our team members compiled the footage of the race into a short video:


During the award ceremony following the race, we were also given the award for "Best Student Team", though at the time we were under the impression that we were the only student team participating! We took it as a win, and were happy with the results. This was one of the most memorable experiences of my high school years, and I'm very happy to be able to share it here! I hope you all enjoyed reading about it as much as I enjoyed writing it.


Thanks for reading,

Juju


2022-12-26

Wooden Chess Board

 Greetings friends,

I try as often as possible to make Christmas gifts for my family rather than buying things, and this year I decided that a great gift for my brother would be a wooden chess board. He has been studying chess more in recent years, and thought he would enjoy having a nice board to play on.

I didn't take any photos of my raw materials, but as you can imagine, I chose the usual maple & walnut combo for the white and black (brown) squares on the board. I cut them to the standard USCF width of 2.25" and glued them all together. When dry, I cut 2.25" strips from the striped board and alternated layers on the next glue-up to achieve the checkered pattern.


At this stage, I glued on the first border around the edge of the board, a thin strip of walnut. This was just an aesthetic choice to provide some more contrast on the edges. To add some thickness to the board, I used some spare pieces of maple to create a border around the bottom. I figured in addition to adding some heft to the board, this would also protect against any warping should it be subjected to higher or lower humidity.

Nearing completion, I took the board over to my brother-in-law who has a nice drum sander to flatten the top of the board and remove any irregularities. Seeing everything slowly come together was very encouraging! The final steps were to trim the edges fully flush/square and to add the final trim on the outer edge of the board.

Some years ago, I found a beautiful piece of figured maple in a "pay-per-pound" scrap lumber pile, and never did anything with it until now. I cut it into 1/4" strips and mitered the ends to the right length to line up at the corners of the board. This part was by far the most tricky as far as measuring and aligning, but the final product looks really great with no end-grain exposed.

With the assembly complete, I used my orbital sander to sand progressively to 600 grit which left a very smooth surface on the top. I only sanded the bottom to 220 since it's not visible during use and will likely wear much faster than the top anyway. Two coats of boiled linseed oil (BLO) really made the contrast between the maple and walnut pop, and brought out the figuring in the maple strips around the edges! I'm incredibly happy with the end result, and my brother really loved it too.


I hope everyone has a Happy New Year, and stays tuned for whatever I'm up to in 2023!


Thanks for reading,

Juju


2022-11-06

Pirate Costume: The Hat

 Greetings friends,

For a number of years I thought it'd be fun to gradually assemble a pirate costume that I can wear every year for Halloween. This eliminates the need for new costumes, and with a small amount of effort I can add little details to the costume every year. Last year (2021) I went very simple, repurposing a "Where's Waldo" striped shirt for my pirate garb and sporting a matching red bandana. This year, I decided I'd have a go at making a nice pirate hat.

I ordered a felted wool hat blank from Cooperstown Trading Post, in a size XL. I forgot to take a photo of the hat when it arrived, but it's a very basic black hat with a round wide brim. The hat was incredibly stiff, but with some persuasion, it became pliable enough to shape.

I wanted to style the hat similar to the classic tricorn, so I started by bending up the brim of the hat on each side and applied some small clamps to establish a crease. I used the steam setting on my clothes iron to gently steam the hat so that the crease would set. This worked incredibly well to soften the wool and make this work much easier. At the same time, I was able to steam the crown of the hat and stretch it over my head to achieve a better fit. With the hat shaped with steam and clamps, I used some thick thread to "pin" the sides up to hold the tricorn shape.

For the trim, I wanted something ornate but not too over the top. I found a wonderful trim from Palladia Passementerie which I think has the perfect level of flair. I sewed this around the brim of the hat after shaping it, using a thumb tack to poke through the thick wool and then sewing the trim into place.

I have some future plans to add to the hat, for example some feathers and maybe decorative pins or buttons, but at this point it was ready for the debut! It fits really comfortably over my bandana and I'm sure will hold up well for quite a long time!

Arrrr!

Thanks for reading,

Juju